

How Can You Optimize the Performance of a 10kW Hybrid Inverter During Installation?
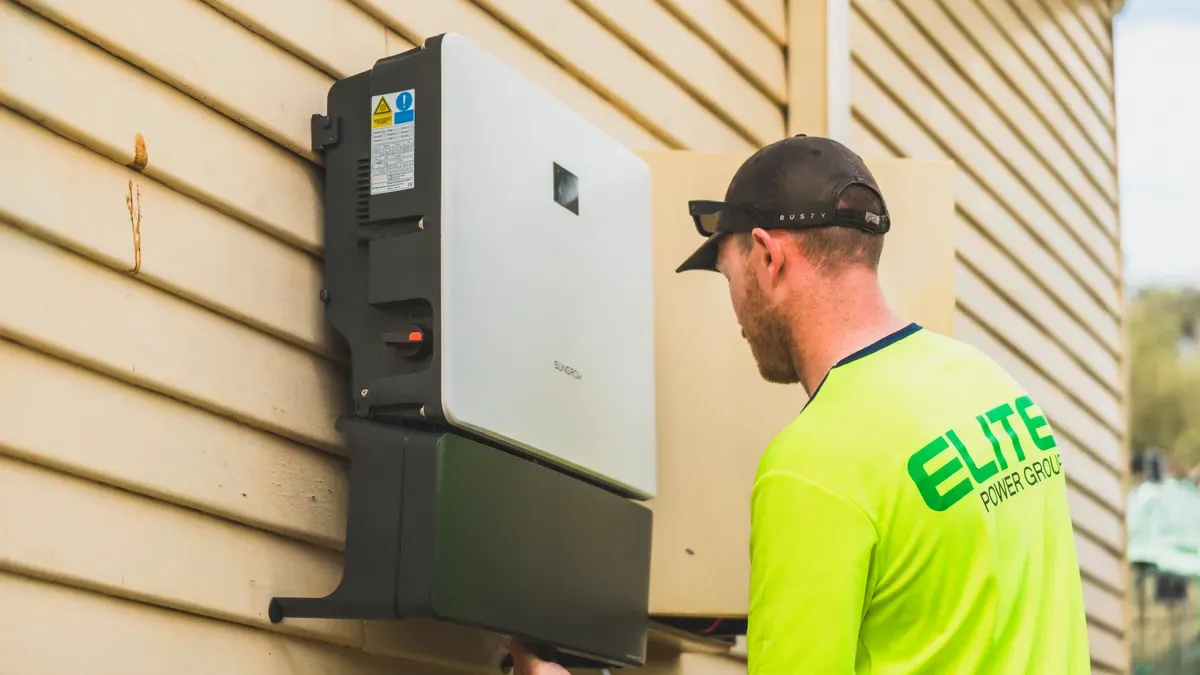
You can achieve optimal performance from your 10kw hybrid inverter by focusing on careful planning, choosing reliable hybrid inverter solutions, and executing each installation step precisely. Pay close attention to site selection, proper mounting, correct wiring, and seamless battery and solar integration. Always prioritize safety, detailed configuration, and avoid common mistakes. Selecting a robust 10kw inverter ensures you benefit from the advantages of hybrid inverters, whether for three-phase hybrid solar inverter setups, commercial solar systems, or on-grid solar systems. This quick installation guide empowers you to maximize your solar energy systems with a clear step-by-step installation guide.
Choose the right installation site for your 10kW hybrid inverter. A cool, dry, and clean location maximizes efficiency and lifespan.
Accurately size your system based on daily energy needs. This prevents overloads and ensures reliable power during outages.
Follow local electrical codes and regulations. Compliance ensures safety and smooth installation, protecting your investment.
Use compatible solar panels and batteries. Matching components enhances performance and prevents safety hazards.
Regularly monitor and maintain your inverter. Routine checks and cleaning keep your system running efficiently and extend its lifespan.
You need to choose the right installation location to maximize the efficiency and lifespan of your 10kw hybrid inverter. The environment around the inverter directly affects its performance. Pay close attention to these factors:
Temperature: High temperatures can cause overheating and damage internal components. Low temperatures may reduce performance and battery capacity.
Humidity: Excess moisture can lead to condensation, corrosion, and electrical faults, which shorten the inverter’s lifespan.
Dust: Dust buildup can block airflow, causing overheating and gradual performance loss.
Select an installation location that stays cool, dry, and clean. Avoid areas exposed to direct sunlight, water leaks, or heavy dust. Proper ventilation helps maintain stable operation for your solar energy systems.
Accurate system sizing ensures your 10kw inverter meets your energy needs. Start by listing all appliances and estimating daily energy consumption. Use the following table to guide your calculations:
|
Key Factors |
Description |
|---|---|
|
Daily Energy Consumption |
Total energy used by appliances per day; affects battery storage needs. |
|
Desired Backup Time |
Duration of backup power needed during outages; impacts battery capacity. |
|
Battery Type |
Lithium and AGM batteries offer different usable capacities. |
|
System Design |
Off-grid systems need more storage than hybrid systems with grid support. |
|
Battery Capacity Formula |
Battery Capacity (kWh) = Load (kW) × Backup Hours ÷ Usable Depth. |
|
Example Calculation |
For 5 kW load, 4 hours backup: 5 × 4 = 20 kWh; with 90% depth: 20 ÷ 0.9 ≈ 22 kWh. |
⚡ Tip: Undersizing your system can cause overloads and reduce productivity. For example, using a 3kW inverter when your load requires 5kW leads to frequent shutdowns.
You should also size your solar array based on daily energy needs and available sunlight. This step ensures your solar power inverter operates efficiently and delivers reliable power.
Before installation, review all local electrical codes and regulations. You must follow these rules to ensure safety and pass inspections. Local codes may specify requirements for wiring, grounding, and protection devices at the installation location. Consult with a certified electrician or local authority if you have questions. Proper compliance protects your investment and guarantees a smooth installation process.
Selecting the right solar panels for your 10kW system ensures stable performance and long-term reliability. You should match the total panel capacity to the inverter rating and confirm compatibility with other system components. The following table highlights the most important factors to consider:
|
Key Factor |
Considerations |
|---|---|
|
Power Capacity and System Integration |
Match inverter and panel capacity for balanced operation. |
|
Battery Compatibility and Control |
Confirm support for your chosen battery type and management system. |
|
Conversion Efficiency and MPPT |
Choose panels with high efficiency and multiple MPPT inputs for better output. |
|
Backup and Off-Grid Performance |
Ensure fast switching between grid and backup modes. |
|
Remote Monitoring |
Look for real-time monitoring and smart energy management features. |
|
Certifications and Durability |
Select panels with strong safety certifications and robust build quality. |
Hybrid inverters do not support wind or hydro integration, so you should only use solar panels for your system.
You need to select a battery that matches your inverter’s voltage and current requirements. Lithium Iron Phosphate (LFP) batteries offer excellent safety and long cycle life. For best results, ensure your inverter communicates with the battery management system. Consider these points:
Use LFP batteries for safety and longevity.
Limit depth of discharge to extend battery lifespan.
Choose a battery with a high cycle life.
Confirm BMS compatibility for optimal performance.
Using an incompatible battery can cause overheating, void warranties, or even create safety hazards such as fires or explosions. Inverters without battery storage do not provide energy storage capability, so always verify your system design.
Safe and efficient installation depends on using the correct wiring and protection devices. The table below outlines essential components:
|
Component |
Specification |
|---|---|
|
Cables (DC Side) |
Double-insulated, UV-resistant solar cable (4 mm²/6 mm²) |
|
String Fuses |
DC fuses (15–20 A, 1000 V DC) for each string |
|
Surge Protection Device |
DC SPD type 2 (600–1000 V rating) |
|
DC Isolator |
Manual disconnect switch, rated for 1.25 × system Isc |
|
Battery Cables |
70 mm² copper for 48 V, max current ≈ 210 A |
|
AC Breakers |
Main Output Breaker: 63 A, 2-pole or 4-pole |
|
RCD |
30 mA for personnel protection |
|
Earthing |
6 mm² green/yellow copper cable to earth rod |
|
Isolation Switch |
Grid manual disconnect for safety |
You should avoid common mistakes such as improper cable fittings, reversed connections, or poor crimping, as these can damage your solar power inverter and compromise safety.
Professional installers rely on a set of specialized tools to ensure a safe and precise installation. You should prepare the following:
Crimping pliers, cable cutting tool, and diagonal cutter
Stripping tool and long nose pliers
Torque wrench and hex key
Multimeter, voltage tester, and clamp meter
Measuring tape and hammer drill
Cable ties, heat shrink tubing, and electrical tape
Having the right tools helps you achieve secure connections and reliable system performance.
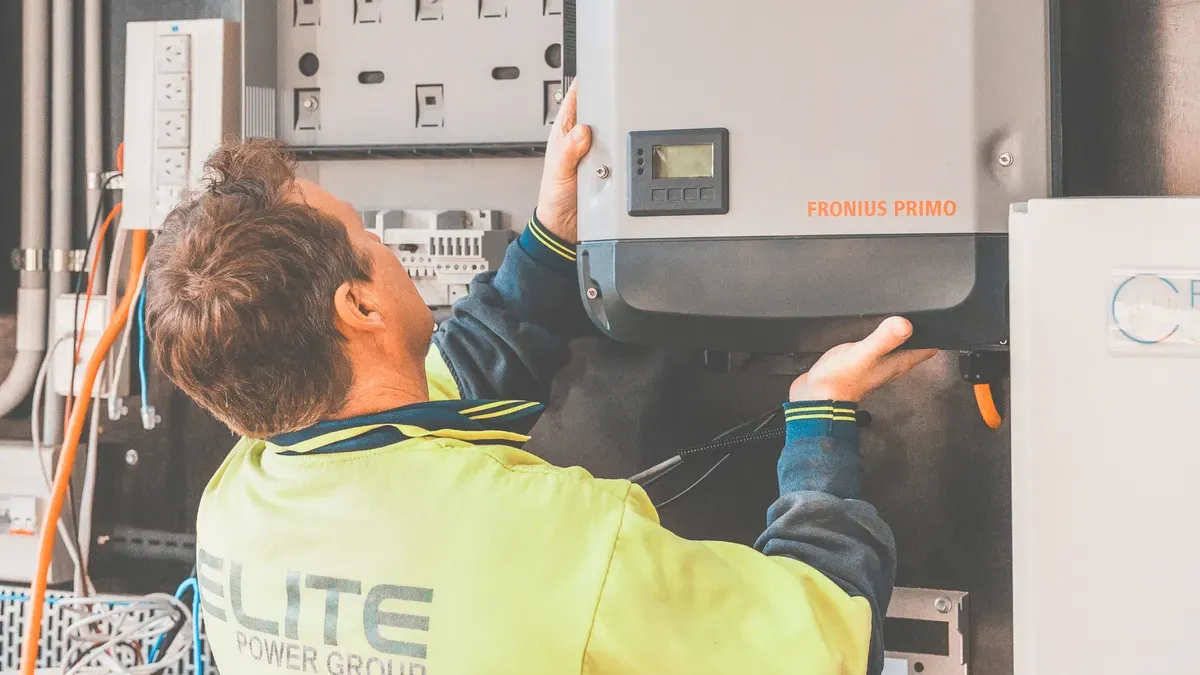
A successful installation process for your 10kw inverter starts with careful preparation and attention to detail. This guide will walk you through each step, from marking the wall to final safety checks, ensuring your system delivers reliable performance.
Begin by preparing the wall where you plan to install your 10kw inverter. Follow these steps for precise and secure mounting:
Mark the installation holes on the wall using a measuring tape and a pen. Refer to your product manual for the correct distance between mounting holes.
Drill holes at the marked spots with an impact drill. Select a drill bit that is two sizes smaller than your expansion screws. Make sure the hole depth is 1–2 mm deeper than the screw length.
Insert expansion screws into the drilled holes. Tap them gently with a hammer until they sit flush with the wall.
🛠️ Tip: Accurate marking and drilling prevent misalignment and ensure the 10kw inverter remains stable during operation.
Once you have prepared the wall, you can mount the solar hybrid inverter securely. Hang the inverter on the expansion screws and tighten the nuts to prevent any movement. Always check that the inverter sits level and does not shift when touched. This step is crucial for both safety and long-term durability. Avoid placing the inverter in direct sunlight or areas exposed to rain. Choose a cool, dry, and well-ventilated location, away from bedrooms or spaces where people spend long hours. Elevate the inverter to protect it from water damage and keep it out of reach of children.
You must follow strict procedures when making electrical connections for your 10kw inverter. Always turn off the main power supply before starting. Wear personal protective equipment such as gloves and safety glasses. Use the correct color codes for wiring: red for positive (+), black for negative (−), blue for AC output, and green/yellow for ground. For battery configuration, connect in series for 48V or parallel for 24V systems. Ensure a single-point N-G connection with resistance less than or equal to 5Ω, following IEEE 80 standards.
Inspect all connections for signs of wear or damage before powering up.
Keep the inverter and surrounding area free of debris and moisture.
It is highly recommended to hire a certified electrician or solar installer for this part of the installation process.
⚡ Note: Proper wiring protects your 10kw inverter from faults and maximizes system efficiency.
Grounding and surge protection are essential for the safety and longevity of your 10kw hybrid inverter. Install Type 2 surge protective devices (SPDs) at both the combiner box and the inverter. Maintain a minimum distance of 10 meters between Type 1 and Type 2 SPDs for effective surge protection. Protect communication lines such as Ethernet, RS485, or WiFi with Type 3 SPDs to prevent surges from entering through these connections.
Place one SPD close to the PV array and another near the inverter’s DC input on the DC side.
On the AC side, install one SPD near the inverter’s connection to the main power distribution cabinet and another close to the inverter’s AC output.
For communication runs longer than 10 meters, ground cable shields at both ends to the equipment chassis. In high-risk areas, use fiber optic isolation for runs exceeding 50 meters.
These measures help safeguard your solar power inverter and maintain uninterrupted operation.
Safety should always be your top priority during the installation process. Use weatherproof enclosures for outdoor installations. Keep the 10kw inverter away from flammable materials and out of reach of children. Select a location that avoids direct sunlight and rain. Regularly check for compliance with safety standards and consider professional installation to minimize risks.
Conduct routine maintenance checks to prevent overheating and electrical overload.
Ensure the inverter is installed in a cool, dry, and well-ventilated area.
Always follow the manufacturer’s instructions and local regulations.
🚨 Alert: Never skip safety checks or rush the installation process. A careful approach protects both your equipment and your investment.
After completing all steps, perform a power-on test to verify that your 10kw inverter operates correctly. This test confirms that all connections are secure and the system is ready for use. By following this guide, you ensure your 10kw hybrid inverter delivers optimal performance and long-term reliability. For those considering the value of their investment, understanding the 10 kw inverter price can help you plan for both installation and future maintenance.
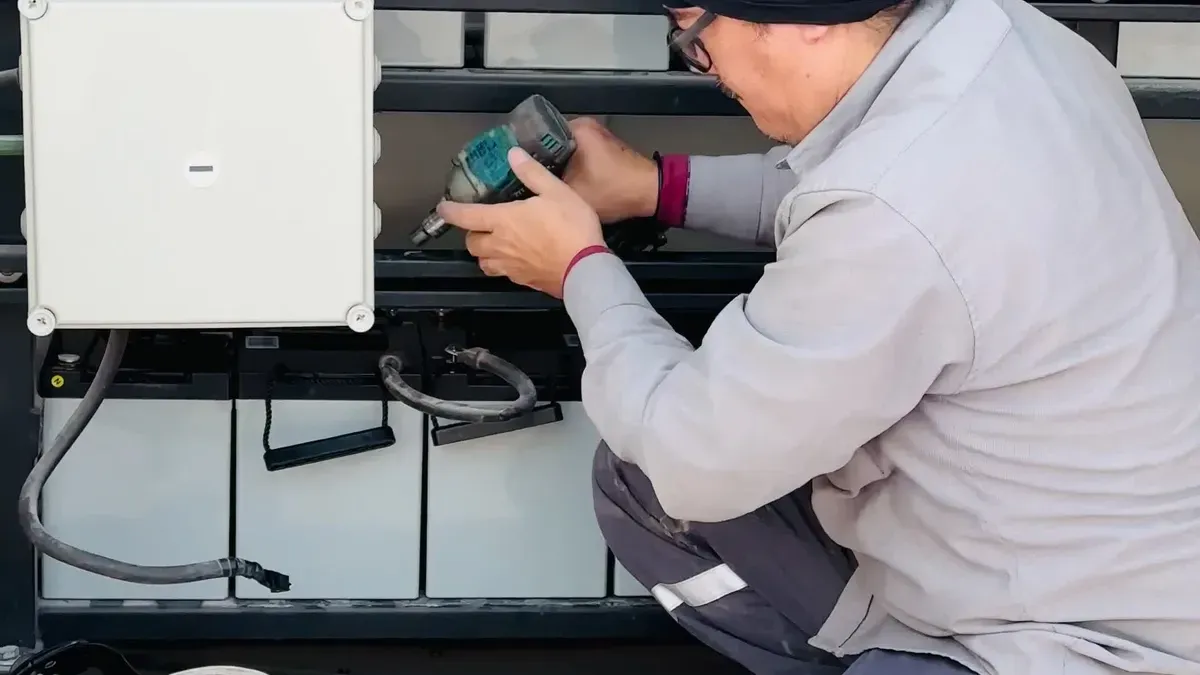
Proper system configuration and thorough testing ensure your 10kw hybrid inverter delivers reliable performance from the first day of installation. This guide walks you through the essential steps for software setup, integrating solar and battery systems, initial performance checks, and ongoing monitoring.
You need to configure your solar hybrid inverter’s software settings before connecting loads or starting a power-on test. Setting the right parameters protects your equipment and maximizes efficiency. Begin with communication settings, especially if you use lithium batteries with a BMS. Adjust shutdown, low battery, and restart thresholds to match your battery backup requirements. The following table summarizes the most important parameters to set for optimal operation:
|
Parameter |
Description |
|---|---|
|
Shutdown |
Cuts AC output when battery reaches lower limit, especially without grid. |
|
Low Batt |
Triggers low-battery alarm and sound when enabled. |
|
Minimum Time of Use |
Sets minimum battery level during daily operation. |
|
Restart |
Resumes AC output after sufficient battery recharge. |
|
Battery Thresholds |
Shutdown at 5%, Low Batt at 10%, Restart at 30%. |
|
Communication Settings |
Set lithium/BMS communication first before other configurations. |
|
Load Management |
Reserve LOAD/EPS output for essential circuits; keep large consumers on grid. |
⚡ Tip: Always reserve the dedicated circuit output for critical appliances. Keep high-power devices connected to the grid to prevent overloads.
You must integrate your solar and battery systems with the inverter to achieve seamless energy management. Follow these steps for a smooth integration process:
Estimate your daily energy needs using a load calculator. List all appliances and their usage hours.
Size your battery based on total daily loads and desired days of autonomy. This ensures your battery backup can handle outages.
Size your solar array to meet both charging and load demands, considering local sunlight conditions.
Select an inverter that matches your solar array and load requirements. A 10kw hybrid inverter provides flexibility for most residential and small commercial applications.
Consider adding a backup generator for extended outages or periods of low sunlight.
🛠️ Note: Hybrid inverters do not support wind or hydro integration. Only connect solar panels and batteries as part of your system.
After completing the wiring and configuration, you should perform a power-on test to verify system readiness. During this test, evaluate key performance metrics to confirm your installation meets expectations:
Efficiency: Your inverter should operate at high efficiency, often above 98%.
Load Management: Test the inverter’s ability to predict load actions and apply peak cut strategies.
Environmental Durability: Check that the inverter’s protection rating (such as IP65) shields it from dust and water, especially for outdoor installations.
✅ Callout: Monitor the system for any alarms or abnormal behavior during the initial test. Address issues immediately to prevent long-term damage.
Ongoing monitoring helps you maintain optimal performance and quickly identify issues. Modern solar power inverter systems offer advanced monitoring tools that track energy production, consumption, and system health. You can access real-time data through internet portals or smartphone apps. These tools provide:
Solar energy production tracking in kilowatt-hours (kWh)
Consumption monitoring to optimize usage habits
Advanced system monitoring at the circuit, panel, and system levels
Historical performance comparison to spot trends or drops in output
Performance and fault alerts for timely maintenance
📊 Tip: Use circuit-level monitoring to track individual appliances. This helps you identify energy hogs and adjust usage for better efficiency.
By following this guide, you ensure your 10kw hybrid inverter system operates at peak performance. Careful configuration, thorough testing, and continuous monitoring protect your investment and deliver reliable battery backup for years to come. For those planning future upgrades or budgeting for maintenance, understanding the 10 kw inverter price supports informed decision-making.
During installation of your 10kw hybrid inverter, you must pay close attention to wiring. Miswiring can lead to system faults, reduced efficiency, or even safety hazards. Always double-check polarity and color codes before connecting cables. Inspect terminals, cables, and junction points for corrosion or damage. Look for signs such as discoloration, fraying, or burnt odors. If you notice any issues, engage a qualified electrician for repairs. Avoid DIY fixes to maintain system integrity. You should also verify that each circuit matches the inverter’s specifications. Careful preparation prevents costly mistakes and ensures reliable operation.
Proper ventilation protects your solar power inverter from overheating and extends its lifespan. You need to follow these guidelines:
Maintain several inches of clearance around all sides of the inverter to promote airflow.
Avoid placing objects nearby or blocking vents to prevent heat buildup.
Install the inverter in a cool, shaded area with ample airflow. Avoid tight spaces like closets or garages without ventilation.
Utilize proper mounting locations to enhance airflow.
Consider using reflective surfaces and shade structures to reduce direct heat exposure.
These steps help you maintain optimal performance and prevent temperature-related shutdowns.
Electrical protection devices play a critical role in safeguarding your inverter. You should regularly inspect protection mechanisms and update firmware as recommended. The following table summarizes essential protection features:
|
Protection Mechanism |
Description |
|---|---|
|
Overload Protection |
Shuts down during overloads to prevent damage |
|
Short-Circuit Protection |
Disconnects inverter in case of short circuits |
|
Ground Fault Detection |
Identifies and mitigates ground faults |
|
Temperature Monitoring |
Prevents overheating by monitoring temperature |
Keeping firmware updated enhances efficiency and safety protocols. Manufacturers release updates for energy algorithm improvements and security patches. Regular checks or automatic updates help you maintain peak performance and system reliability. Understanding the 10 kw inverter price allows you to plan for future upgrades and maintenance.
You should monitor your 10kw inverter system regularly to ensure consistent performance and early detection of issues. Effective troubleshooting helps you maintain system reliability and safety. Consider these best practices:
Check AC and DC disconnects to confirm all connections remain secure.
Inspect wiring for any loose or damaged connections.
Perform a controlled reset of the inverter if you notice abnormal operation.
Ensure the inverter operates in a well-ventilated area to prevent overheating.
Clean vents and surrounding surfaces to maintain airflow.
Interpret error codes accurately to diagnose problems.
Visually inspect solar panels for shading or dirt that could reduce output.
Monitor inverter settings to match your system’s specifications.
Check for network issues if remote monitoring fails.
Inspect battery connections and wiring for proper integration.
🛠️ Tip: Install the inverter away from direct sunlight and consider adding a fan or shade to improve cooling.
Routine cleaning and inspection keep your system running efficiently. Dust and debris can block airflow and reduce the lifespan of both the inverter and battery. You should:
Wipe down the inverter’s exterior and vents with a dry cloth.
Remove any debris from around the inverter and battery storage area.
Inspect terminals and cables for corrosion or wear.
Check the battery for swelling, leaks, or unusual odors.
Ensure all covers and enclosures remain tightly sealed.
Regular cleaning prevents overheating and electrical faults, supporting long-term system health.
Preventive maintenance extends the life of your inverter and battery backup system. Create a maintenance schedule that includes:
Monthly visual inspections of all components.
Quarterly checks of battery voltage and capacity.
Annual professional servicing for firmware updates and electrical testing.
Immediate attention to any alarms or error codes.
🔧 Note: Consistent preventive maintenance reduces the risk of unexpected failures and maximizes your return on investment.
When you evaluate the long-term value of your solar system, consider both the upfront cost and the ongoing benefits. The 10 kw inverter price reflects not only the power rating but also the efficiency, warranty, and support you receive. Premium models often deliver higher efficiency and longer warranties, which can shorten your payback period. The table below highlights key factors that impact your return on investment:
|
Key ROI Drivers |
Impact on Long-Term Value and ROI |
|---|---|
|
Energy Savings |
Electricity bills can drop by 70–100%, enhancing savings. |
|
High-Efficiency Components |
Increases daily energy output, leading to shorter payback. |
|
Battery Backup (Hybrid Systems) |
Maximizes cost savings by increasing self-consumption. |
Choosing a reliable inverter and maintaining your battery system ensures you achieve the best possible performance and financial return over the years.
You can achieve the best results from your 10kw hybrid inverter by following each step in this guide. Focus on careful installation, from site selection to final configuration. Regular maintenance and monitoring keep your 10kw inverter running efficiently. If you feel uncertain at any stage, consult a professional. Understanding the 10 kw inverter price helps you plan for long-term performance and value.
You gain flexibility with a 10kw hybrid inverter. Hybrid models combine solar and battery integration, while standard inverters only convert solar energy and lack battery storage capability.
Hybrid inverters support only solar panels and batteries. You cannot connect wind or hydro sources. This design ensures compatibility and stable performance for your solar power inverter system.
You access real-time data through apps or web portals. Monitoring tools track energy production, consumption, and system health. These features help you optimize your solar power inverter for maximum efficiency.
You consider efficiency, warranty, and advanced features when evaluating the 10 kw inverter price. Premium models offer higher output and longer service life, which can improve your return on investment.
You should inspect your inverter monthly and schedule professional servicing annually. Regular maintenance keeps your system running efficiently and prevents unexpected failures.

Add :5th Floor, Building B, No.2817 Kaichuang Avenue, Science Zone, Huangpu District, Guangzhou, China


Anern Industry Group Limited All Rights Reserved.Xml | Privacy Policy  Network Supported
 Language


